Git
Download
Git is a free and open source distributed version control system designed to handle everything from small to very large projects with speed and efficiency.

This document covers the proper steps for your daily Git workflow as well as initial set up and configuration.
This process document assumes the use of Visual Studio Code. If another IDE is used, the steps may need to be adapted to that software.
This process document assumes a Windows installation. If you are installing Linux, please contact Paul Burt for specific instructions.
Configure the Ignition Project for Repository Management
Before starting this process, ensure that all current Ignition services are stopped.
Download Ignition
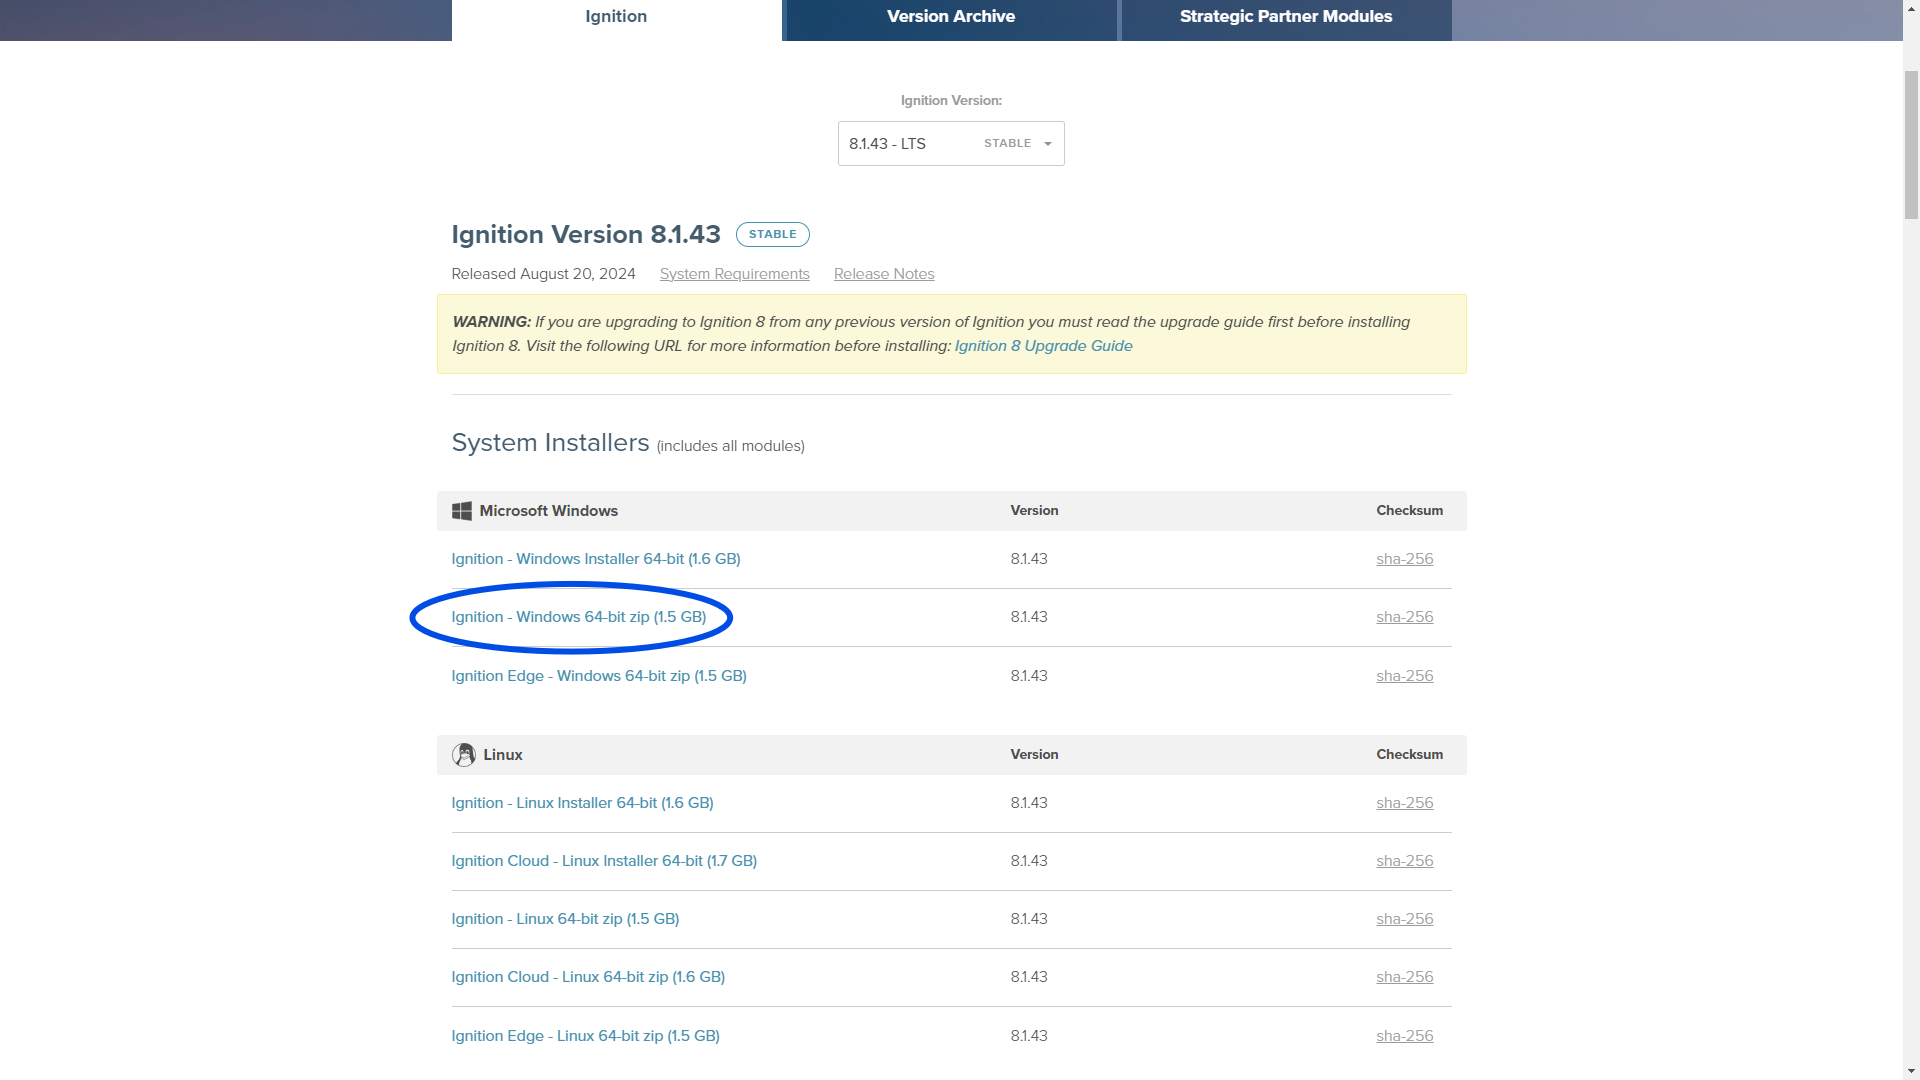
From the Inductive Automation Software Downloads page install the correct version of Ignition. The correct version can be found in the Wiki page of the associated project.
Be sure to download the file zip and not the installer.
Configure Ignition
Once the download is complete, extract the folder to a non-protected location (i.e. your desktop) and name it the Install Designation. Naming the folder the Install Designation is not required for functionality, but makes process management, file control, and trouble shooting, much easier. The Install Designation can be found in the Wiki page of the associated project.
Move the folder to C:\Program Files\Inductive Automation. You will need administrative priviledges.
Open the ignition.conf file found in the data folder. In this configuration file, there are four values that need to be changed. Set the following rows equal to the Install Designation. The Install Designation can be found in the Wiki page of the associated project.
wrapper.console.title
wrapper.name
wrapper.displayname
wrapper.description
Once the values are updated, save and close the file. You will need administrative privileges.
Navigate back to the source folder and launch the install-ignition.bat file.
Launch the start-ignition.bat file.
Launch your Windows services page and verify that the service installed correctly. You should see the Install Designation as the Name and Description of the service and the status should be Running.

To avoid port collision issues, it is best to set the Startup Type of these processes to Manual.
Navigate to your local host and finish the install.
Navigate to the Files section of the repository you are setting up
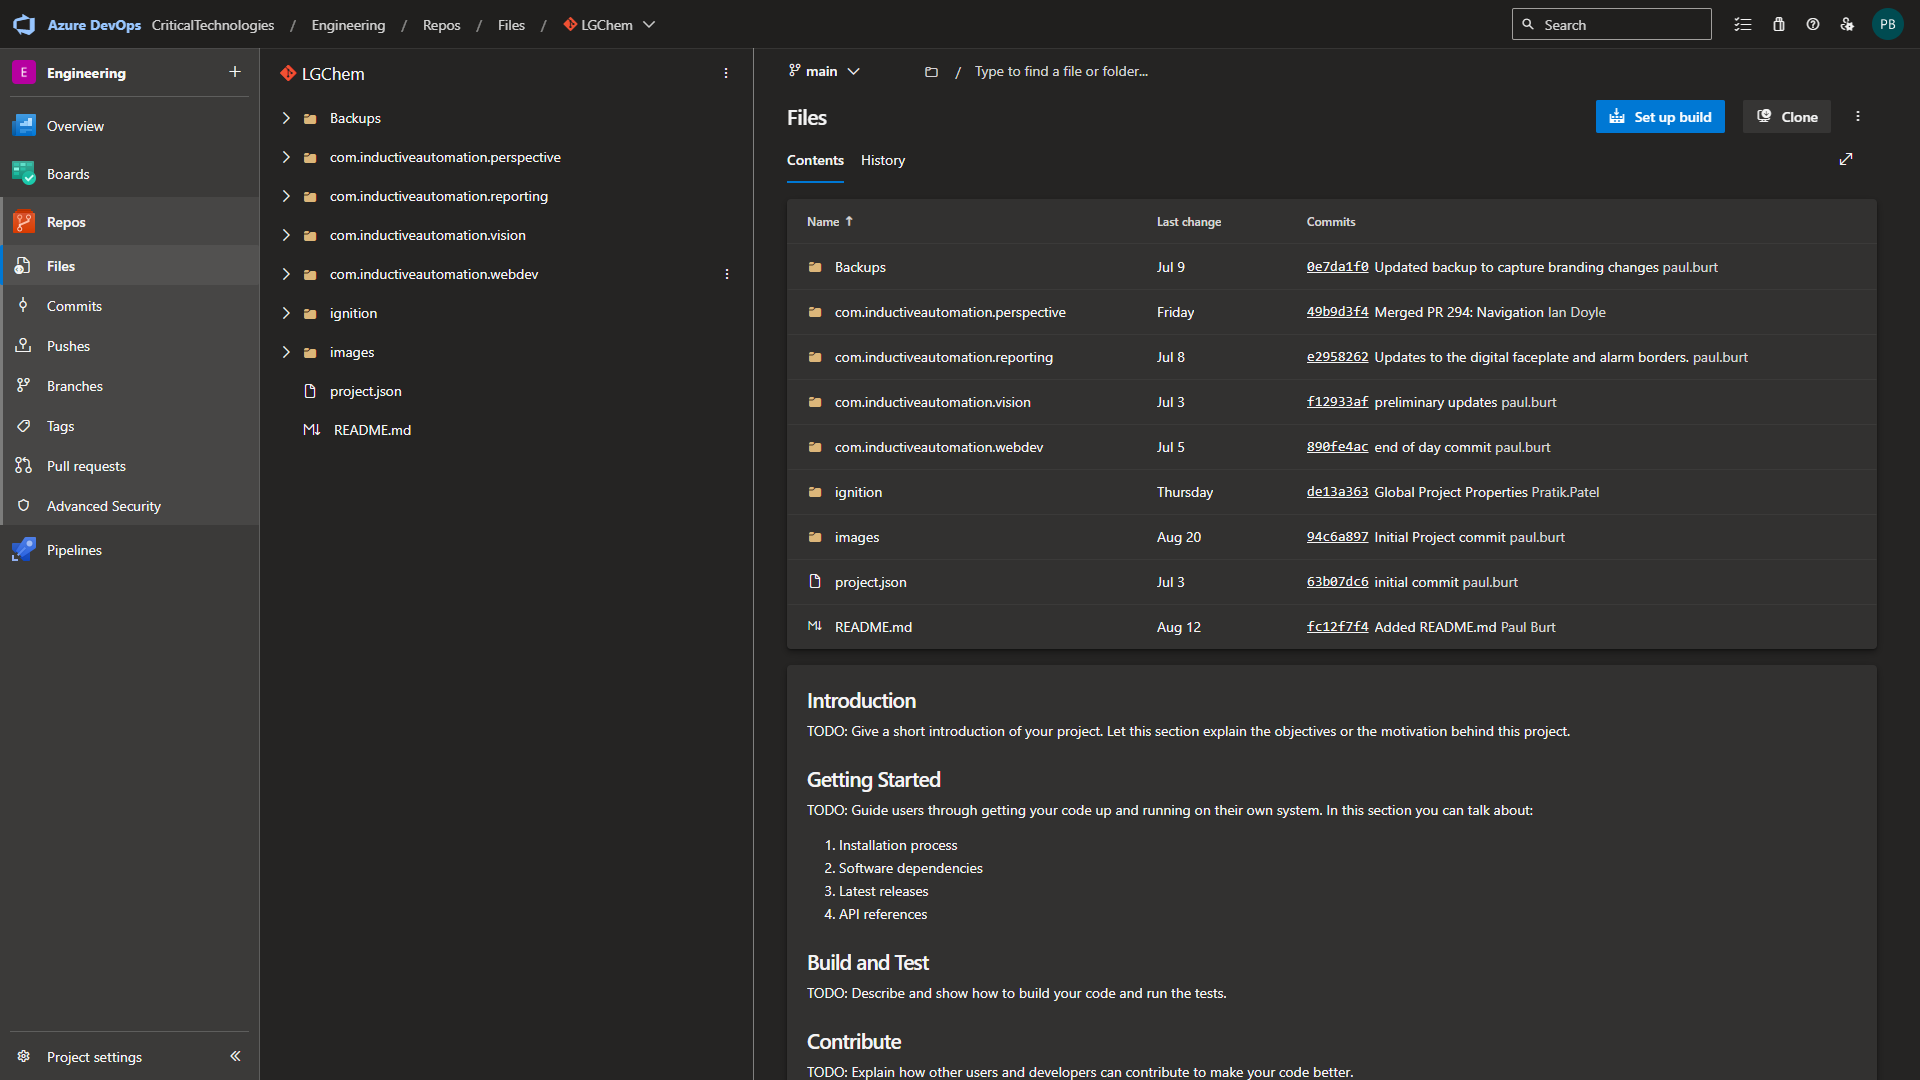
Select the Backups folder, select the most recent backup, and select the Download button.
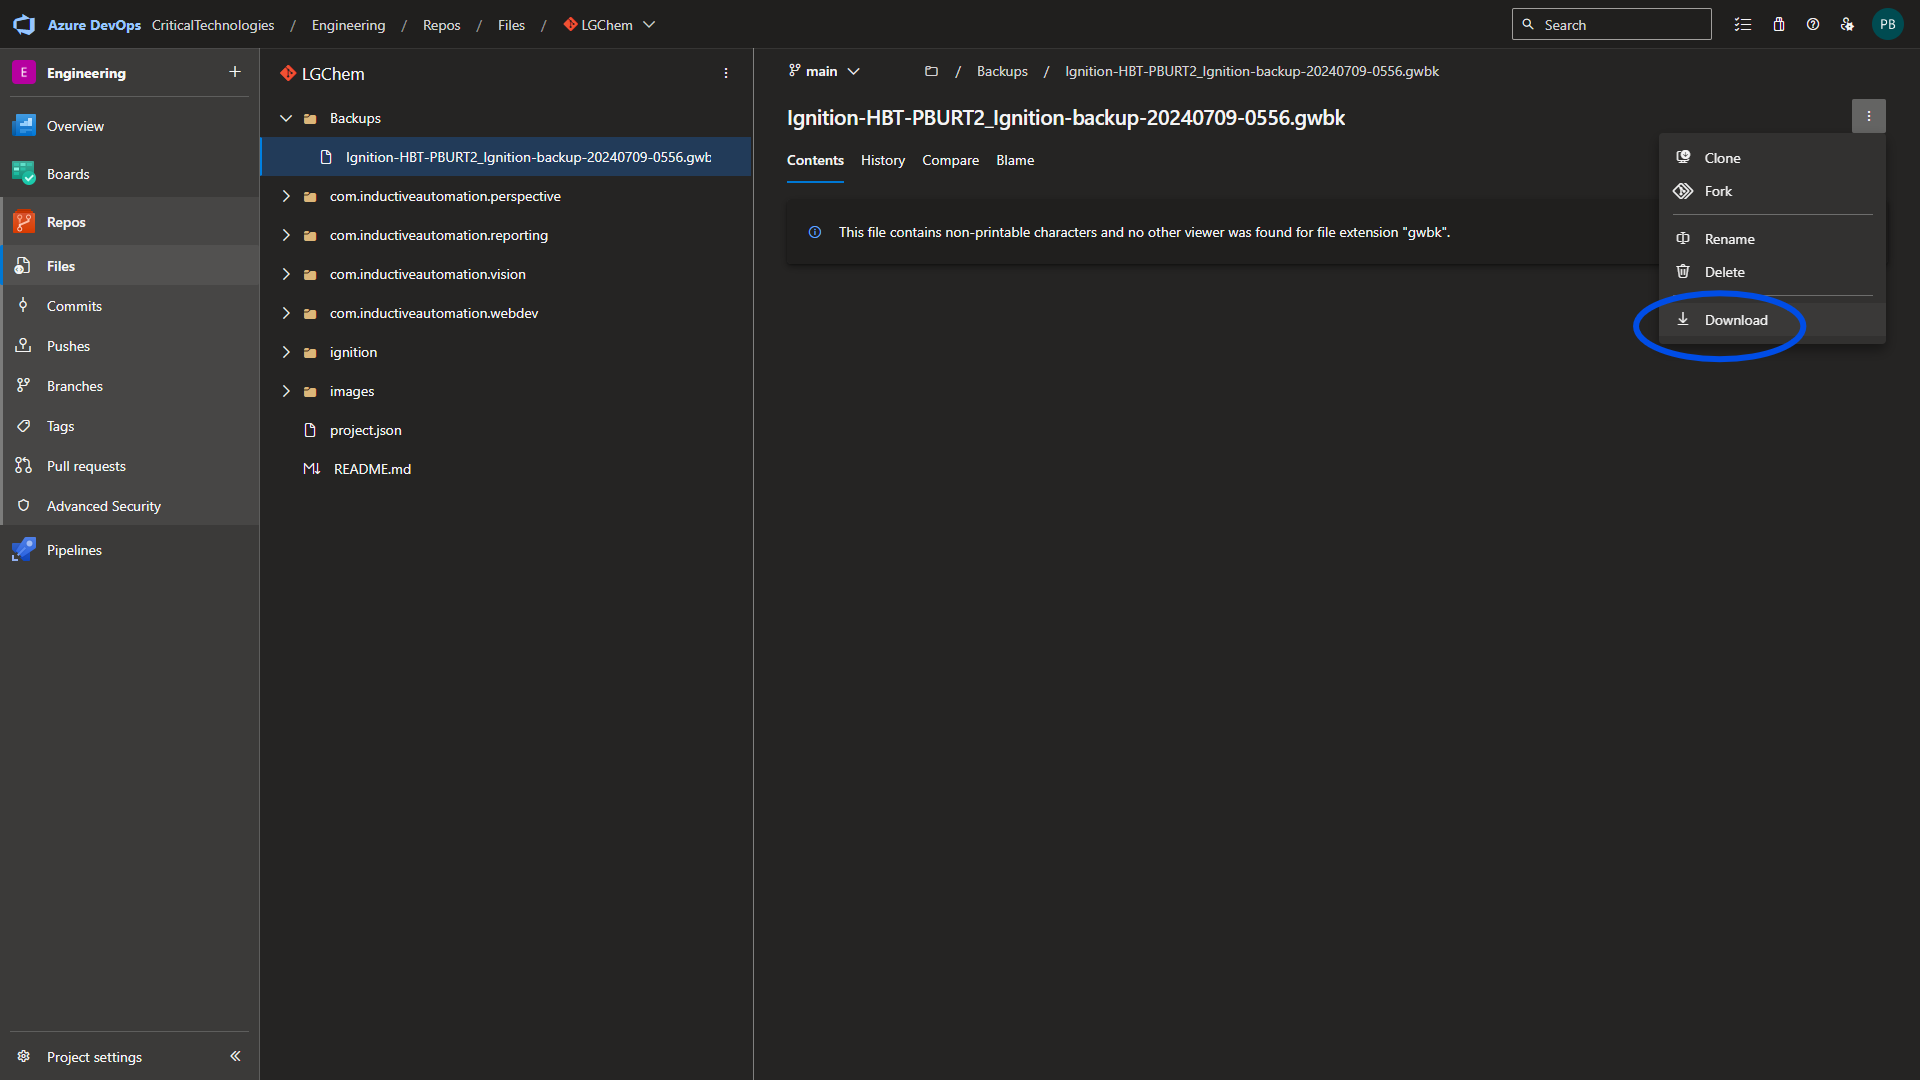
Once the download is complete, restore the project from the gateway.
Configure the Repository
In VSCode, open the explorer tab and mount the project folder. (C:\Program Files\Inductive Automation\Install Designation\data\projects\Project Name)
Launch a terminal and run the command
git init
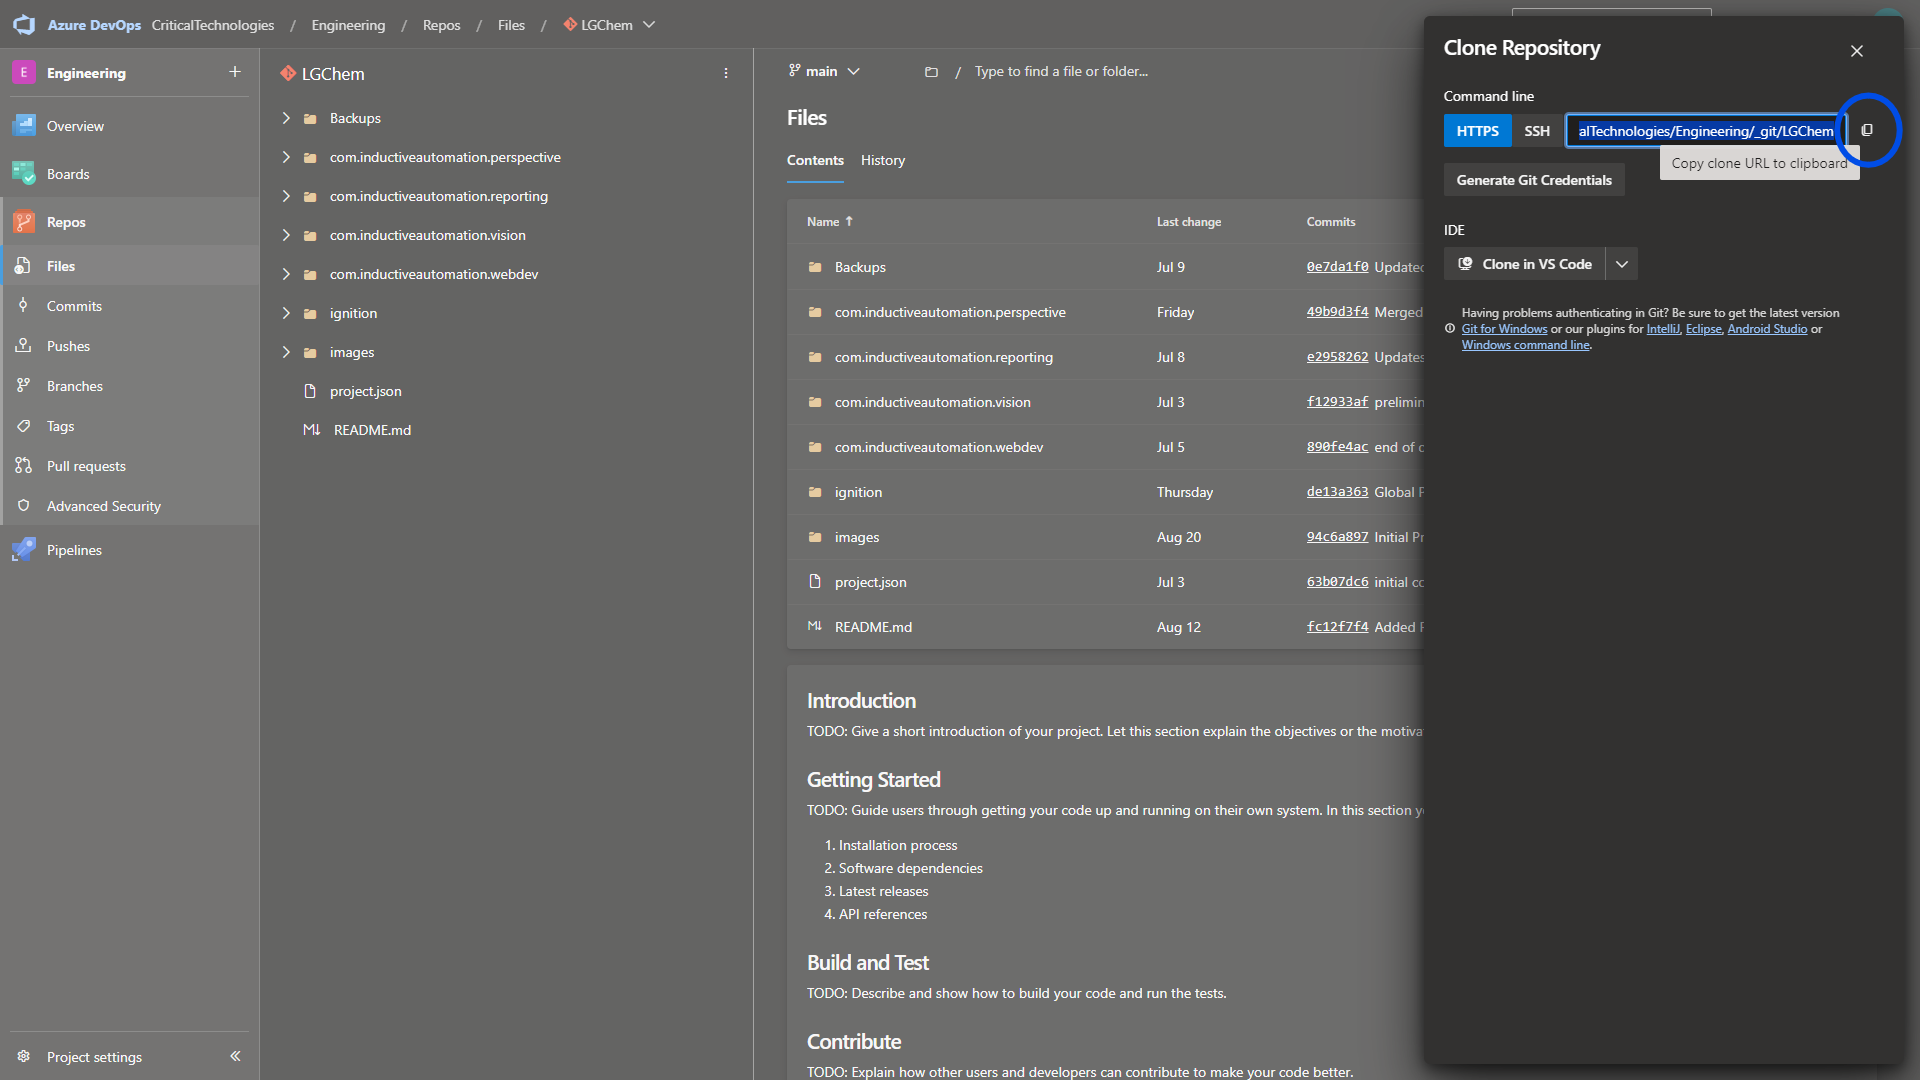
Navigate to the associated repository page in ADO and select the Clone button.

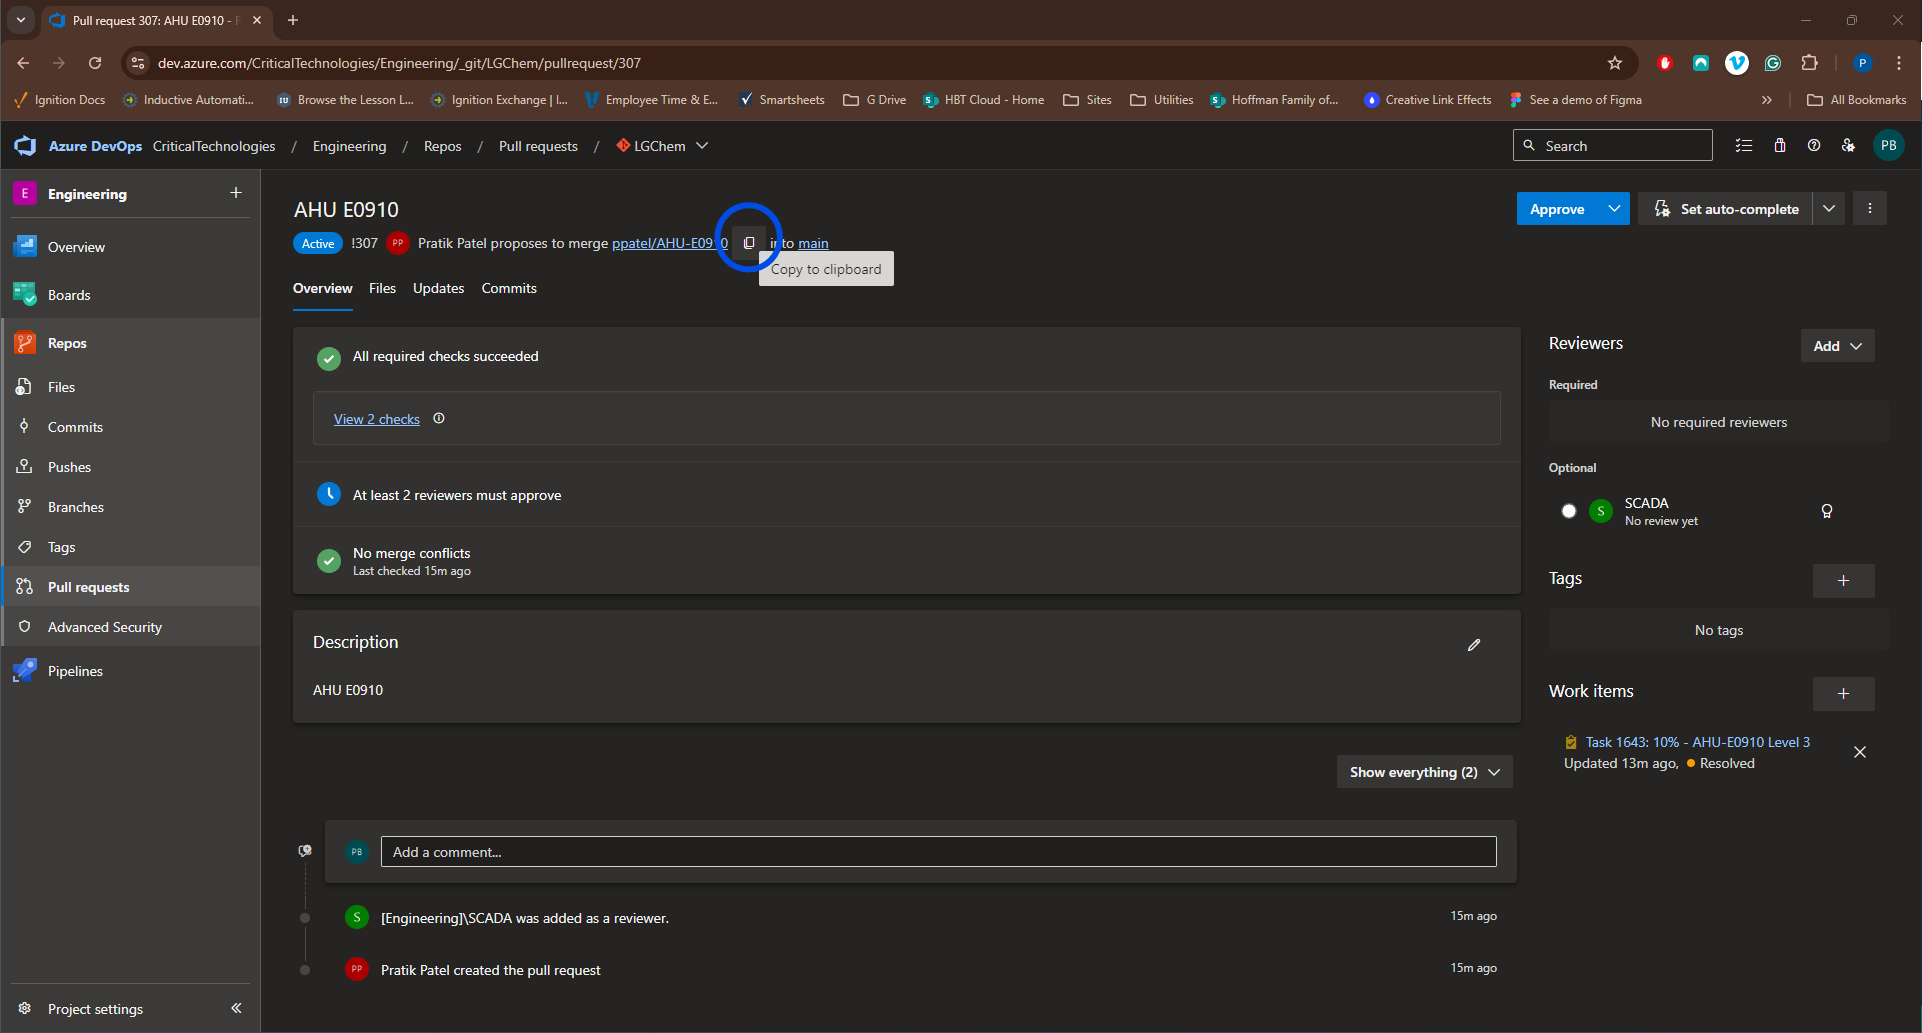
Copy the HTTPS URL by selecting the copy button next to the URL.
Go back to your IDE terminal and run the command
git remote add origin <copied URL>
Configure your access by running the following commands.
git config --global user.name <first.last>
git config --global user.email <ADO Email>
Sync your local repository with the ADO repository by running the command
git pull origin main
Your repository is now configured.
Working Branch
While it is possible to work in your local main branch, it is bad practice and pushes to main are not permitted without an approved Pull Request.
Every developer will work within their own development branch. There are multiple methodologies but in this document, we will cover Critical Technologies's reccommended process.
Run the command git checkout -b <fLast/dev>
This will create your local development branch.
Run the command git pull origin main
This will pull the contents of the main branch into your development branch.
Publish your branch to create your origin development branch.
It is good practice to regularly pull from main on your dev branch to keep it up to date.
Commits
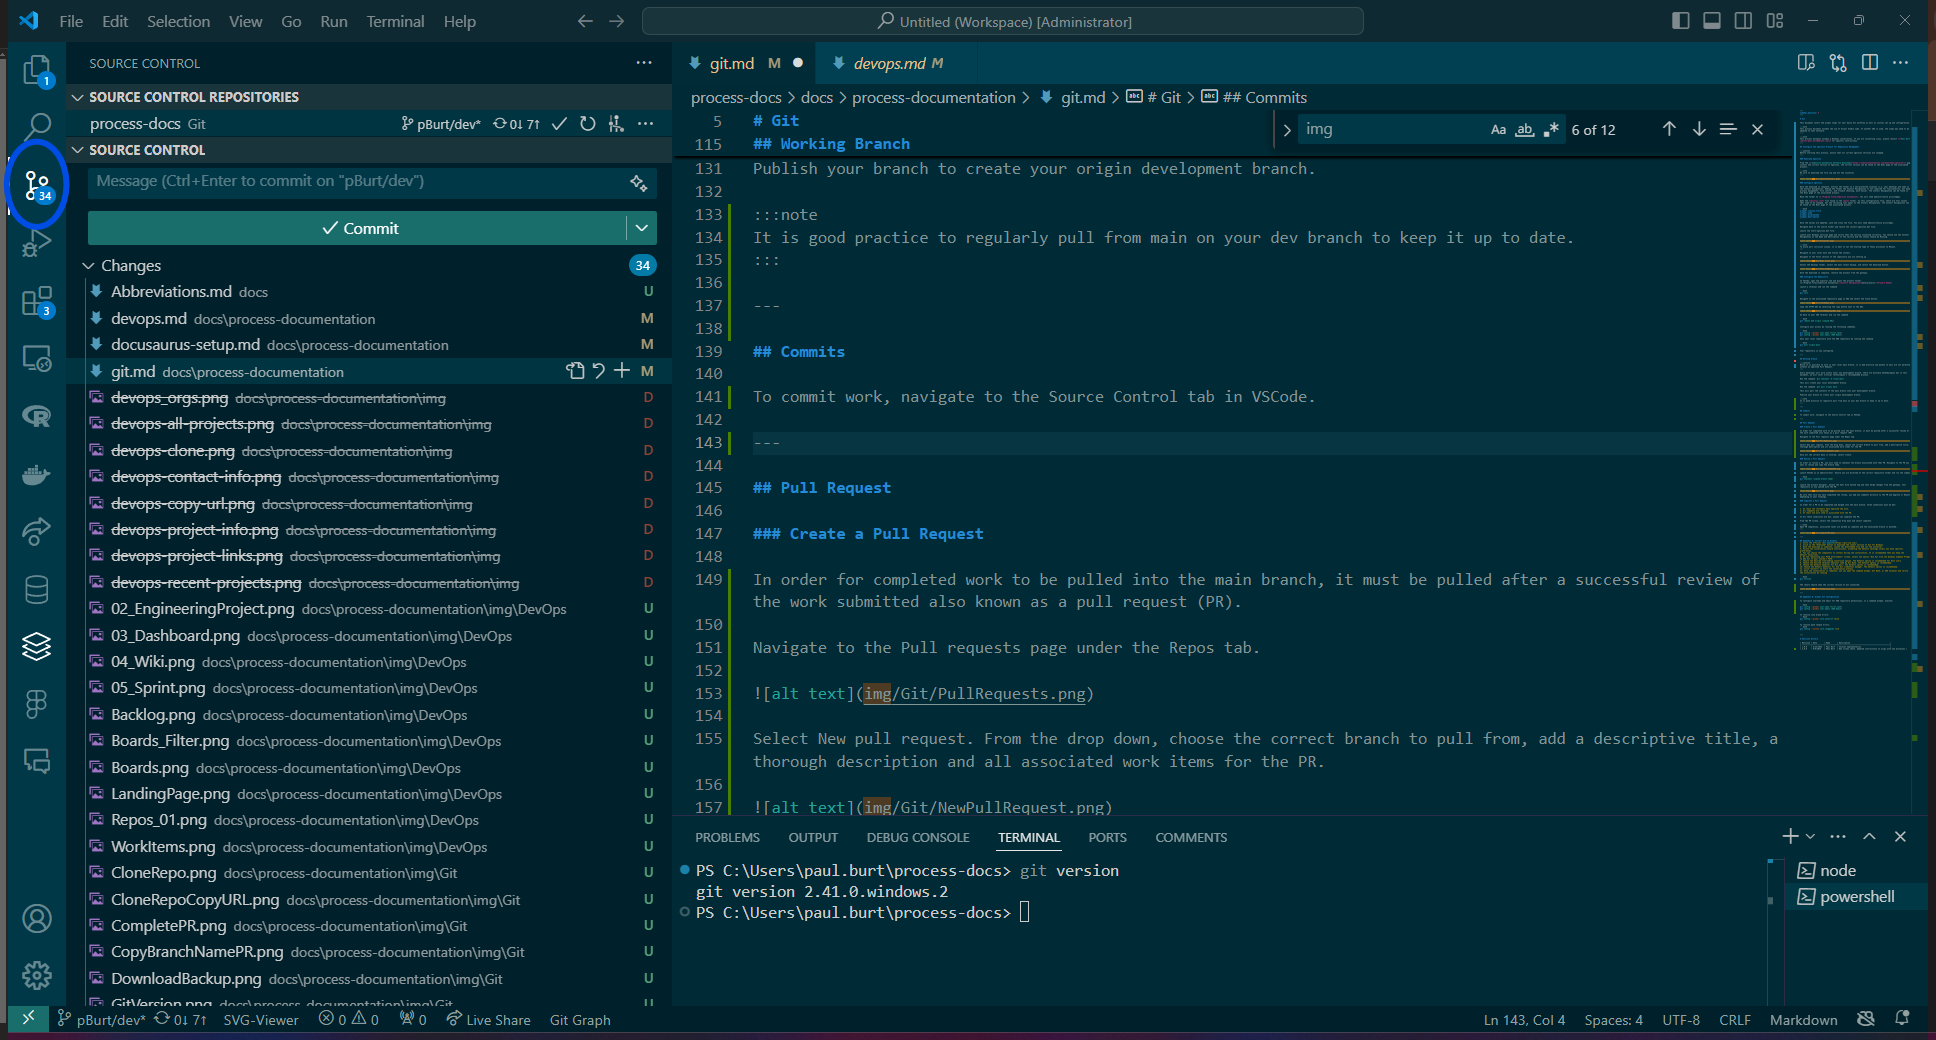
To commit work, navigate to the Source Control tab in VSCode.
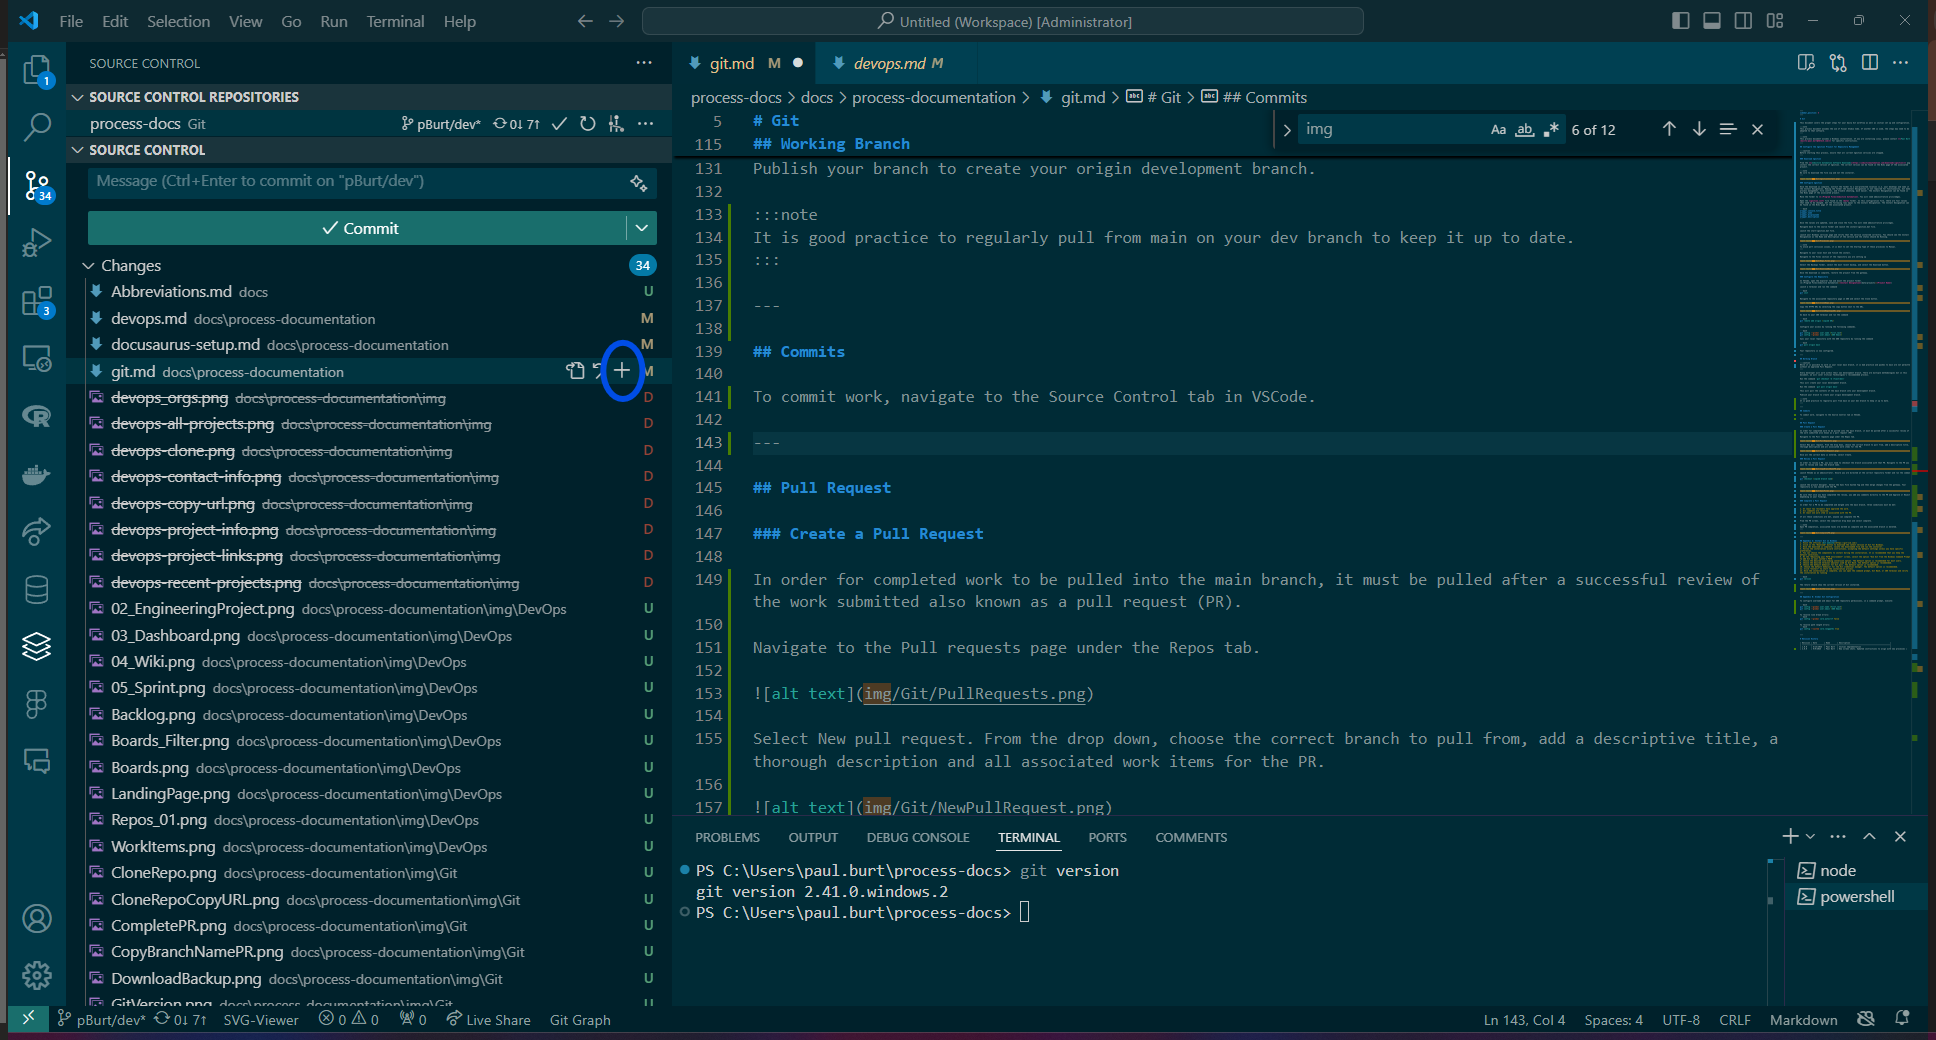
Select the items from the working tree that will be on the commit and then select the stage changes icon.
Enter a brief description of the commit in the commit message box and then select the Commit button.
Pull Request
Create a Pull Request
In order for completed work to be pulled into the main branch, it must be pulled after a successful review of the work submitted also known as a pull request (PR).
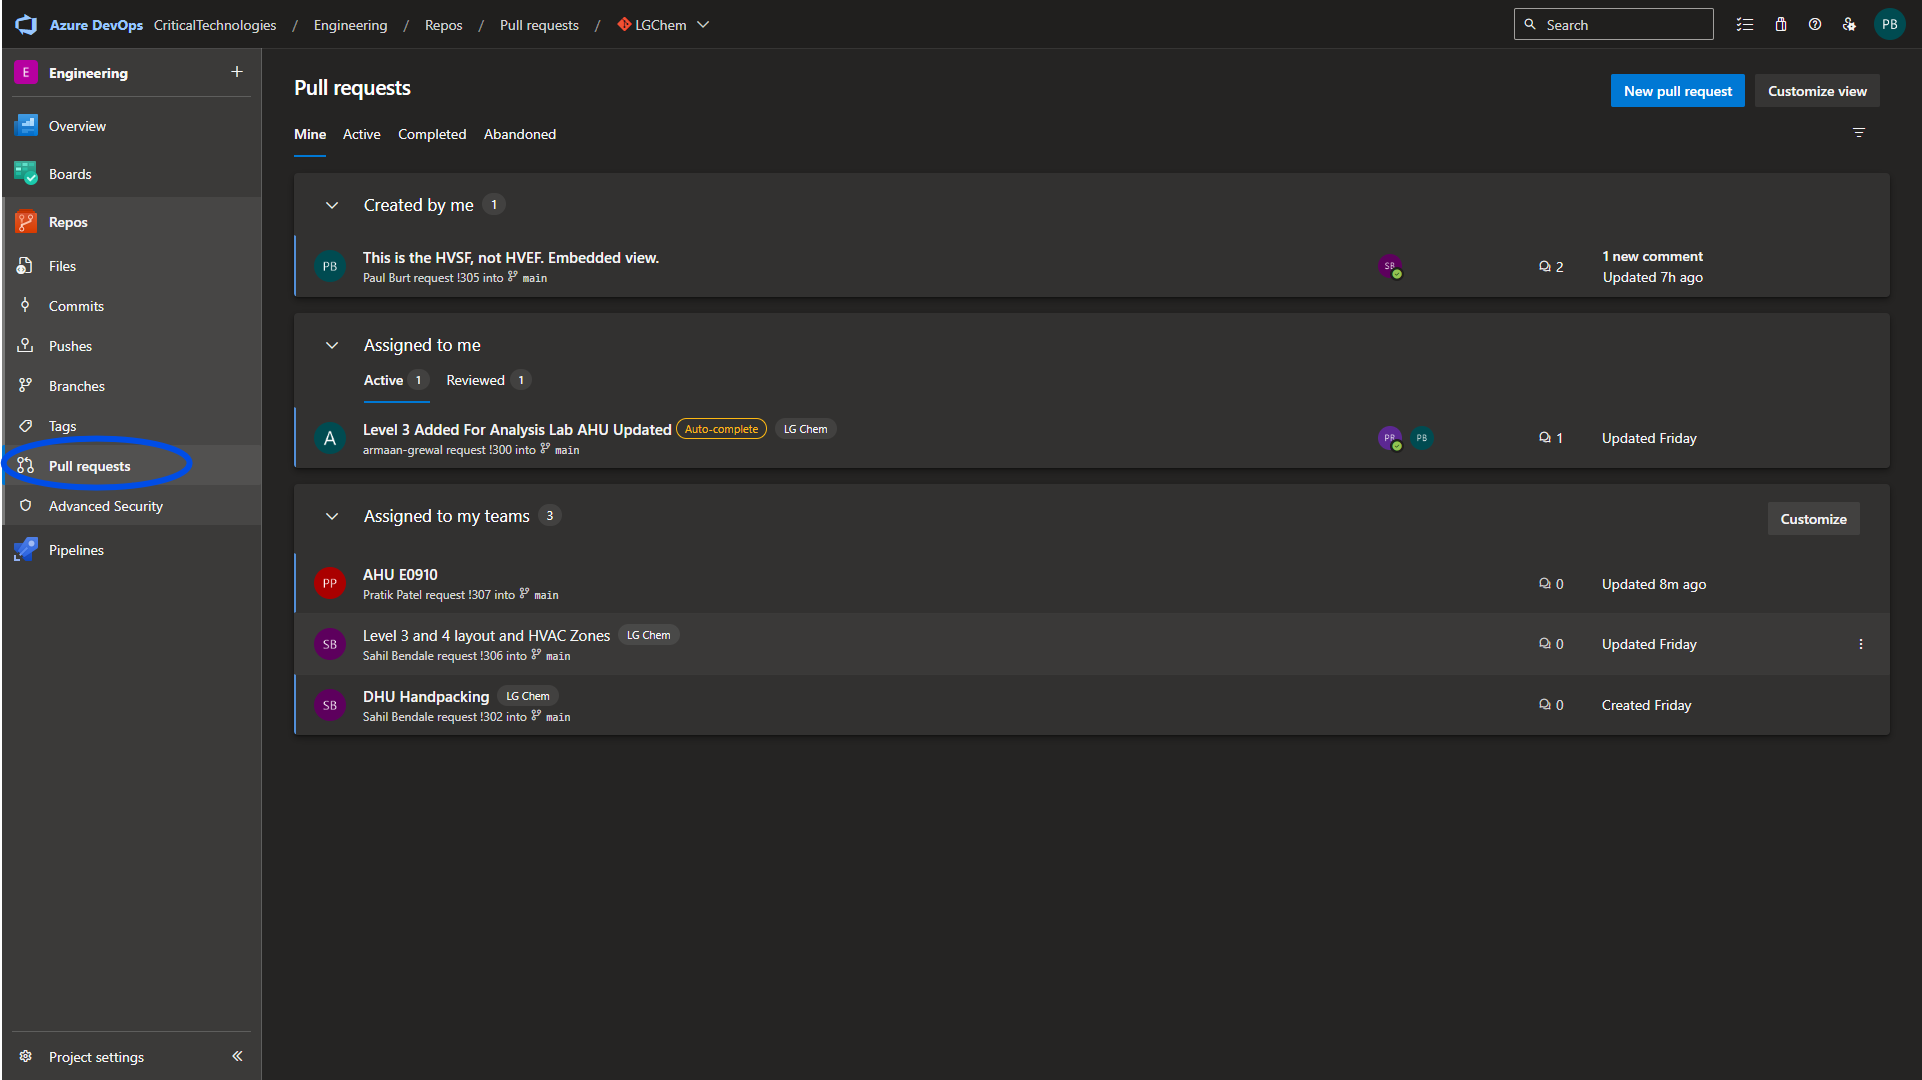
Navigate to the Pull requests page under the Repos tab.
Select New pull request. From the drop down, choose the correct branch to pull from, add a descriptive title, a thorough description and all associated work items for the PR.
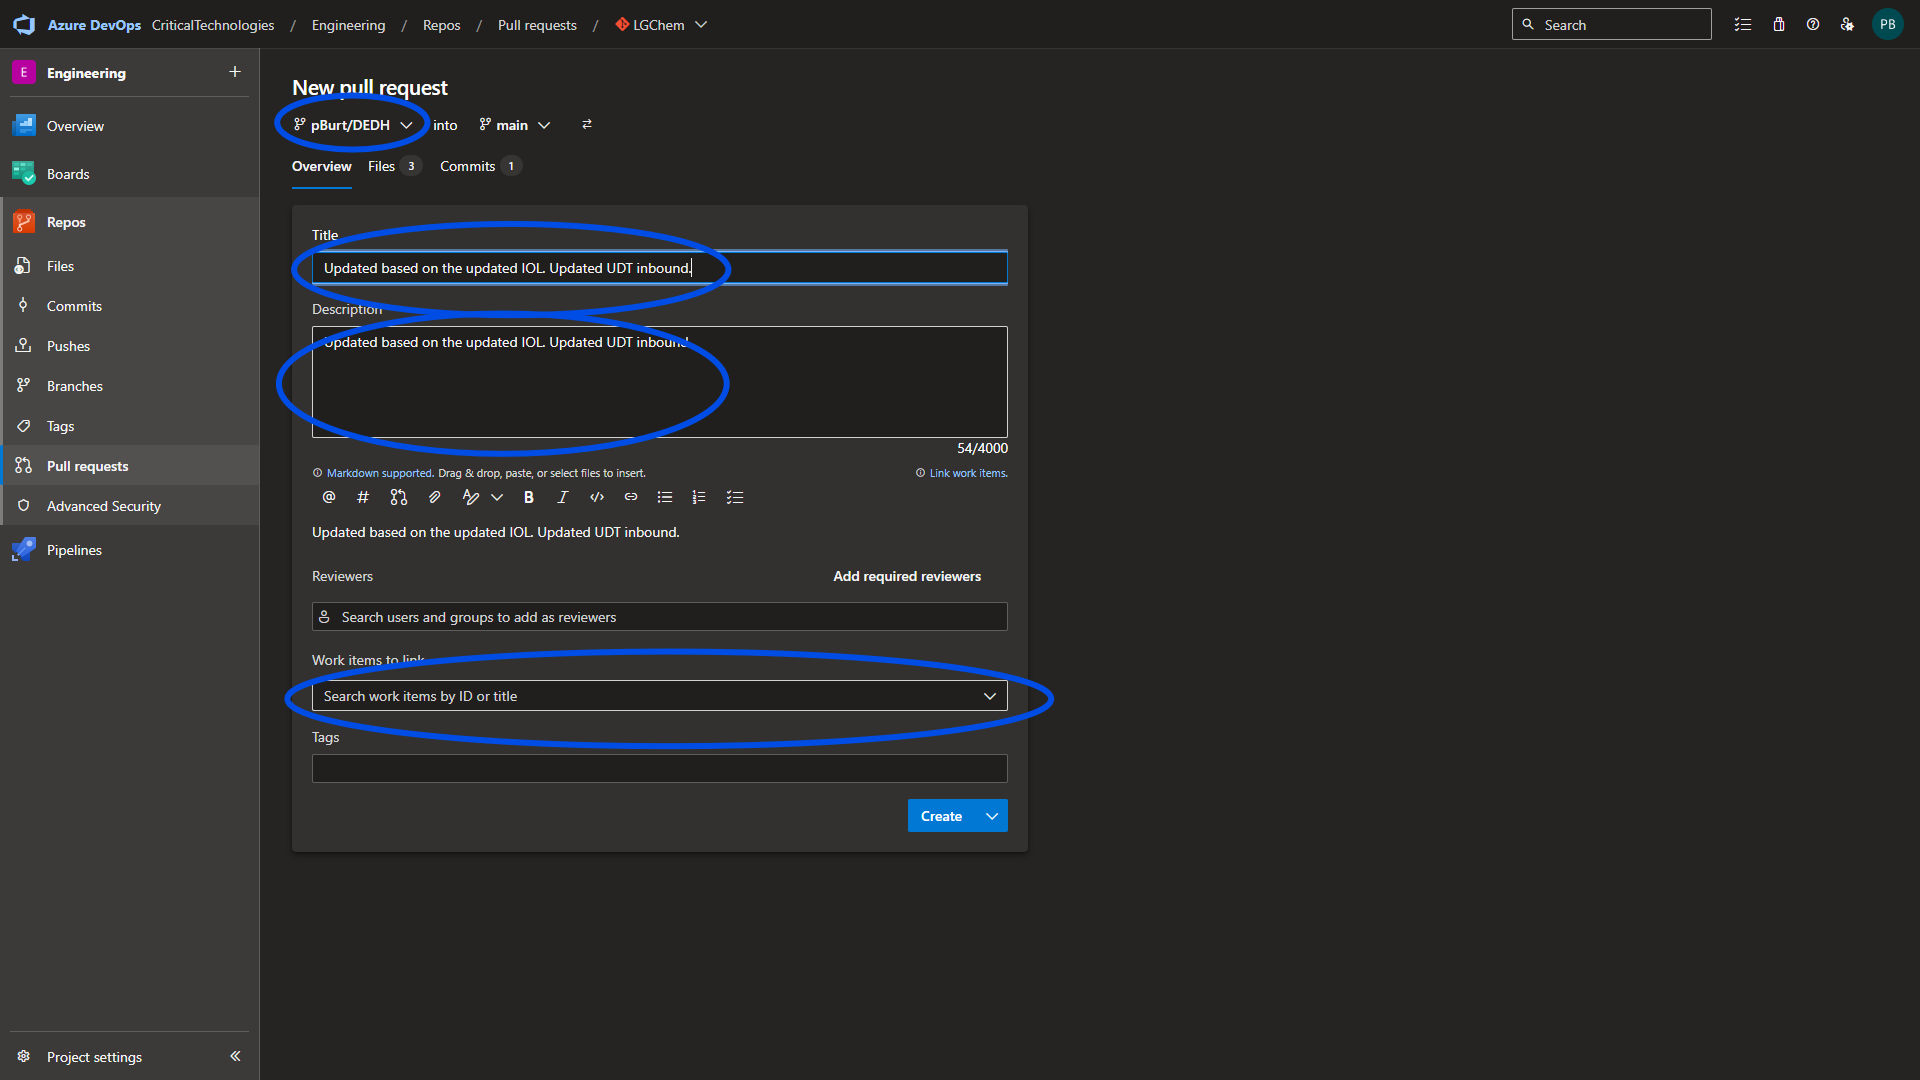
Once all the correct data is entered, select Create.
Review a Pull Request
In order to review a PR, you will need to checkout the branch associated with that PR. Navigate to the PR you want to review and copy the branch name.
Launch VSCode as an administrator. Ensure you are directed at the correct repository folder and run the command
git checkout <copied branch name>
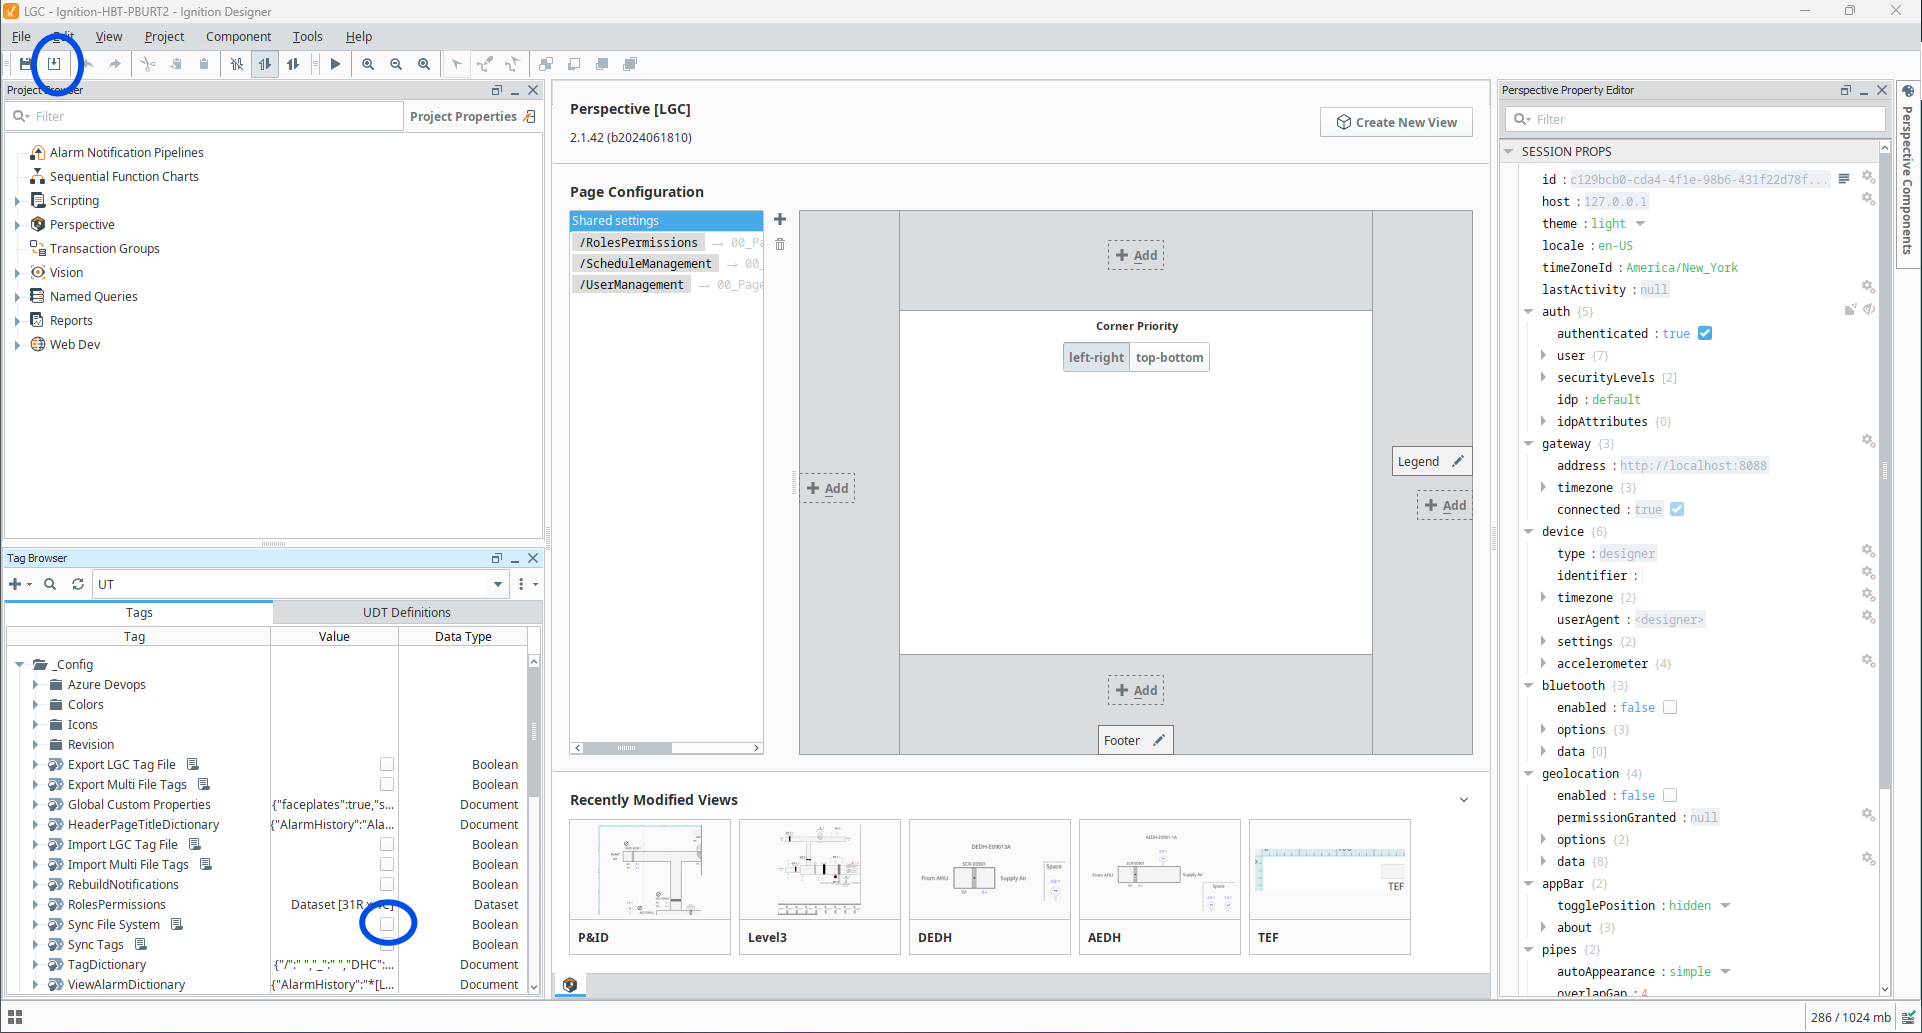
Launch the project designer. Select the Sync File System Tag and then merge changes from the gateway. Your repository is now synced with the PR.
Be sure that once you have completed the review, you add any comments directly to the PR and Approve or Reject depending on your findings.
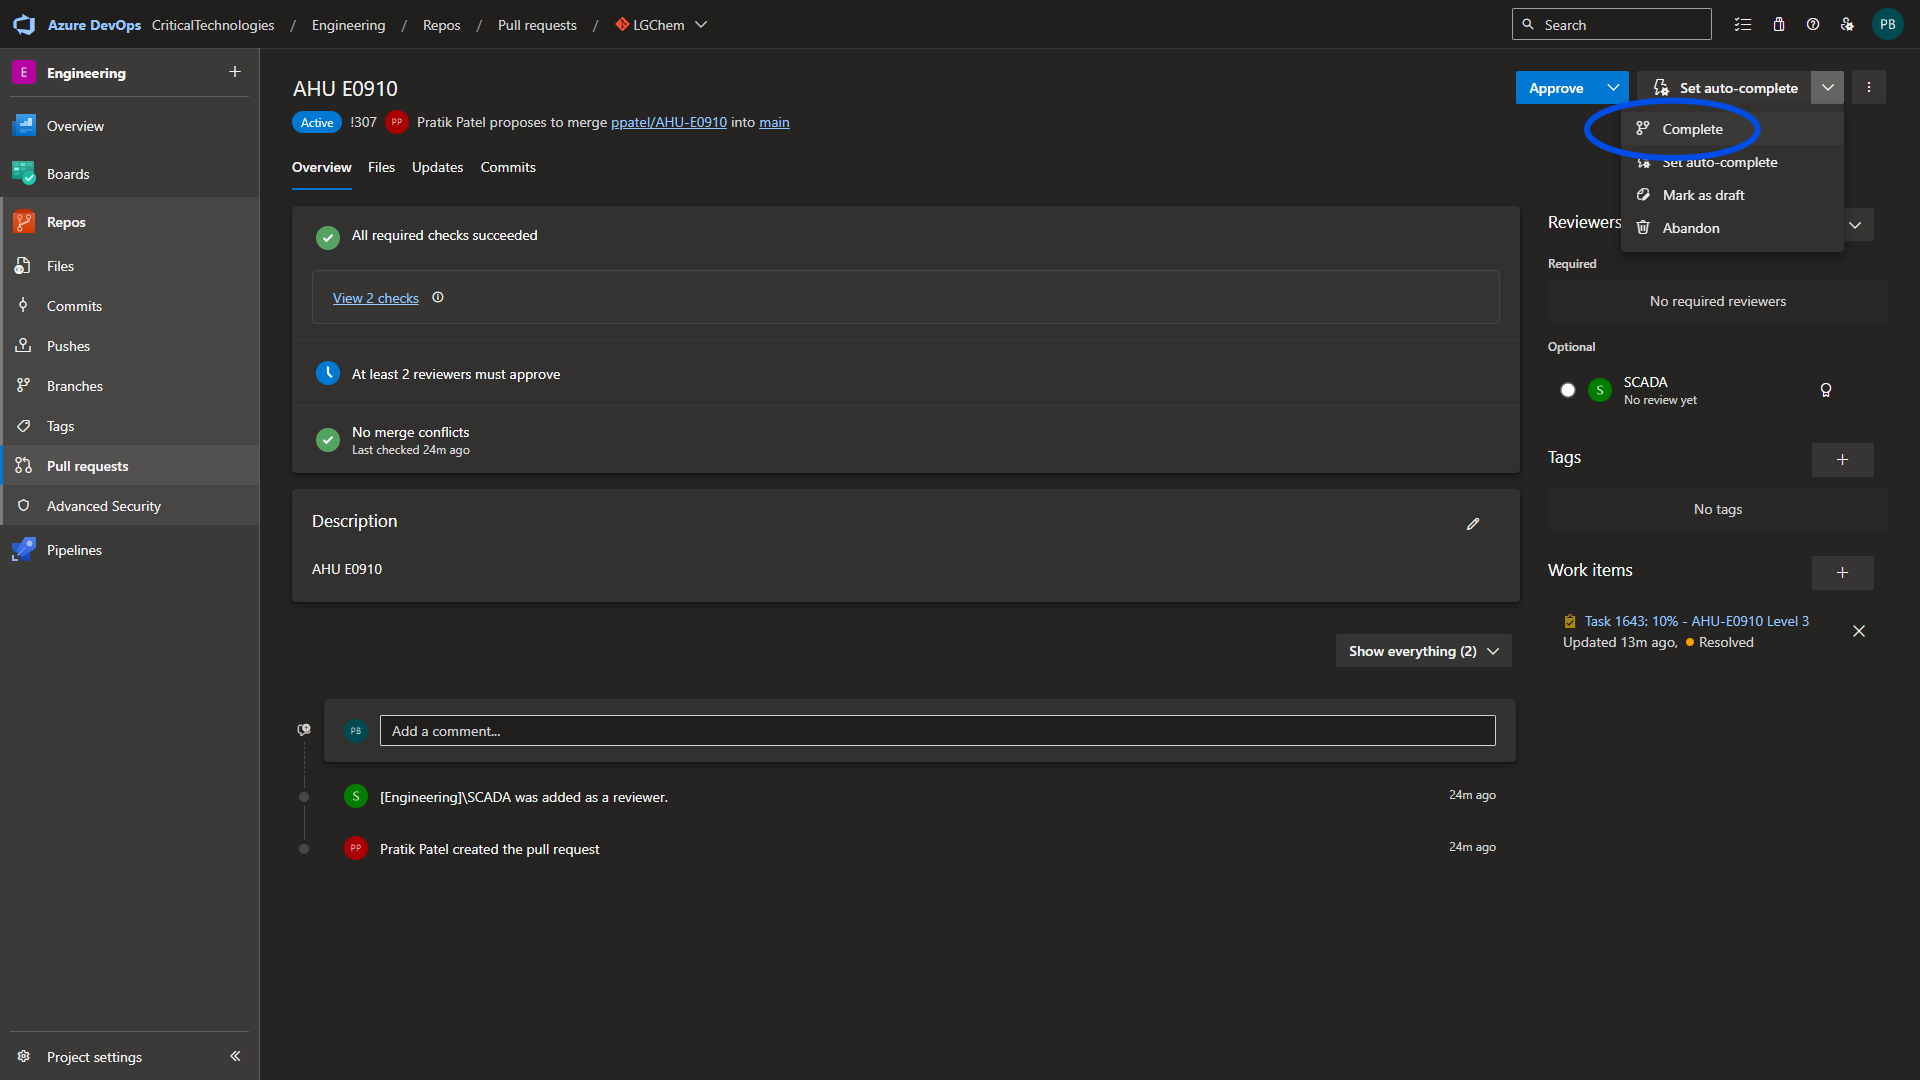
Complete a Pull Request
In order for a PR to be completed and merged into the main branch, three conditions must be met:
- At least two reviewers have approved the work.
- All comments are resolved.
- At least one work item is associated with the PR.
If all these conditions are met, anyone can complete the PR.
From the PR screen, select the completion drop down and select complete.
Upon PR completion, associated tasks are marked as complete and the associated branch is deleted.
Appendix A: Install Git on Windows
- Visit the official Git website
- Click on the "Download" button to download the latest version of Git for Windows.
- Once the download is complete, locate the downloaded file and run the installer.
- Follow the installation wizard instructions, accepting the default settings unless you have specific preferences.
- You can choose the components to install during the installation. It is recommended that you keep the default selections.
- On the "Adjusting your PATH environment" screen, select the option "Use Git from the Windows Command Prompt" to add Git to your system's PATH.
- Choose the desired line-ending conversion option. The default option is recommended for most users.
- Choose the desired terminal emulator used by Git Bash. The default option is recommended.
- Choose the default behavior for Git pull. The default option is recommended.
- Choose the default behavior for the Git credential manager. The default option is recommended.
- Click "Install" to start the installation process.
- Once the installation is complete, you can open the command prompt, Git Bash, or IDE terminal and verify the installation by running
git version
The return should show the current version of Git installed.

Appendix B: Common Git Commands
Setup
git config --global user.name <first.last> - Set the username for the local repository.
git config --global user.email <ADO Email> - Set the email address that will be associated with each history marker.
git config --global core.autocrlf false - Will resolve line break errors if your repository is stored in multiple operating systems.
git config --system core.longpaths true - Resolves path length errors.
git init - Initialize an existing directory as a Git repository.
git clone <url> - Retrieve an entire repository from a hosted location via a URL.
git remote add origin <URL> - Add the origin URL to the project config file.
Staging
git status - Show modified files in the working directory, staged for the next commit.
git diff - Diff of what is staged but not yet committed.
git commit -m <descriptive-message> - Commit your staged content as a new commit.
Branches
git branch - Lists all your branches. An * will appear next to the currently active branch.
git branch <branch-name> or git checkout -b <branch-name> - Creates a new branch at the current commit.
git log - Show the commit history for the currently active branch.
git diff <branchB>...<branchA> - Show the diff of what is in branchA that is not in branchB.
git push origin <branch> - Push local branch comits to the origin repository branch.
git rebase <branch> - Apply any commits of the current branch ahead of the specified ones.
git reset --hard <commit> - Clear the staging area and rewrite the working tree from the specified commit.
This erases the current working tree.
Changes from Git
git rm <file> - Delete the file from the project and stage the removal for commit.
git mv <existing-path> <new-path> - Change an existing file path and stage the move for commit.
Temporary Commits
git stash - Save modified and staged changes without committing to the current branch.
git stash list - List the stack order of the stashed file changes.
git stash pop - Pull the top of the stash stack into the working tree.
git stash drop - Discard the changes from the top of the stash stack.
Revision History
| Revision | Date | Name | Description |
|---|---|---|---|
| 1.0.0 | 6/13/2024 | Paul Burt | Initial Implementation |
| 2.0.0 | 9/9/2024 | Paul Burt | New screen shots. Updated instructions to align with new processes |
| 2.0.1 | 10/16/2024 | Paul Burt | Added Common Git Commands Section. |